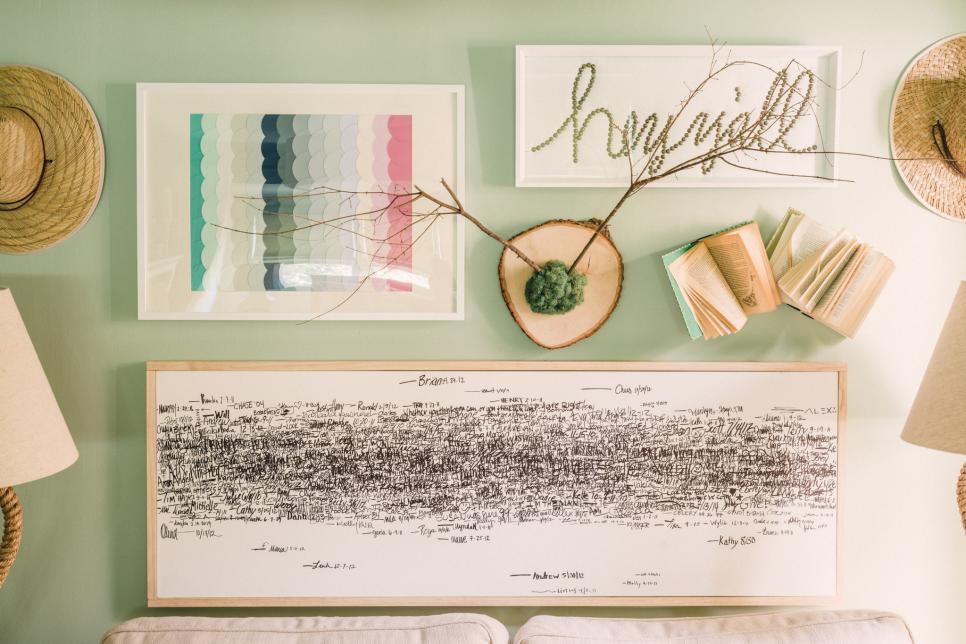
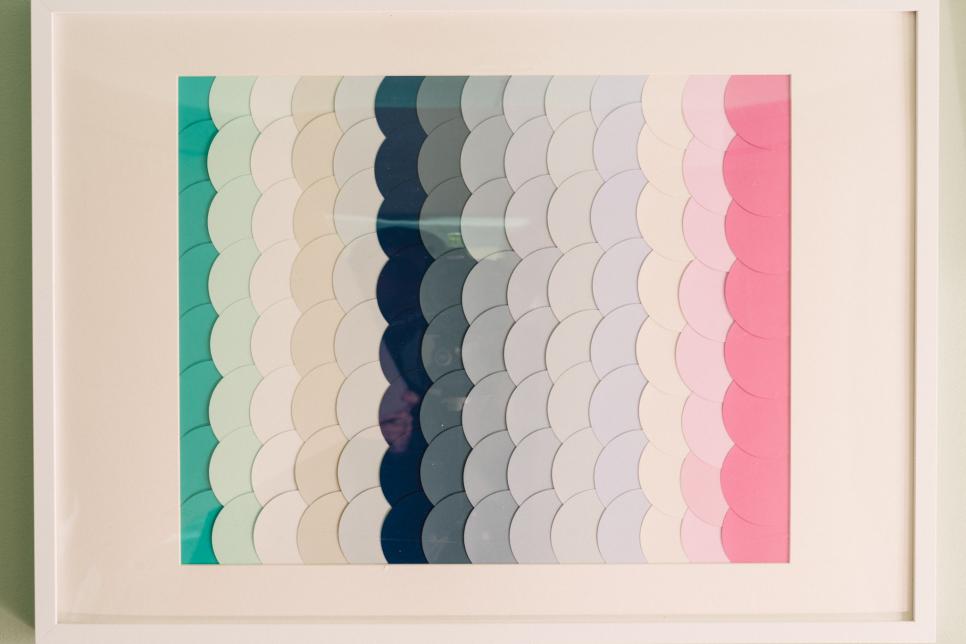
Paint Swatches After amassing a variety of paint swatches out of your home makeover, organize them into categories by colour. Conceptualize an overall appearance or design based on the size, scale, form and proportion of the swatches. Here, a gradient effect was made by lining up the colours and distinguishing them by levels of saturation. To get a cohesive appearance, consider cutting all swatches into precisely the exact same shape using craft scissors. Attach the swatches to poster board utilizing double-sided tape, and add matting before putting into a frame.
Nail-Head Wording Create graphic artwork for your area with corrugated foam center and nail heads or brass tacks. First, choose a message, name or combination of words. Then use a pencil to free-hand the message directly onto the foam core. Employing the traced letters as a guide, apply nail heads or brass tacks using a hammer or rubber mallet. After complete, set the foam core inside a mathematical framework and hang.

Organic Branch Taxidermy Create the look of taxidermy with organic materials. Pick up a wooden plaque along with a purse of crafting moss, then hunt outside for a set of branches like shape and size. Cut the branches back using pruning shears and attach the branches to the plaque using pipes or cable screws and clips. Once full, add a nail into the wall and hang.

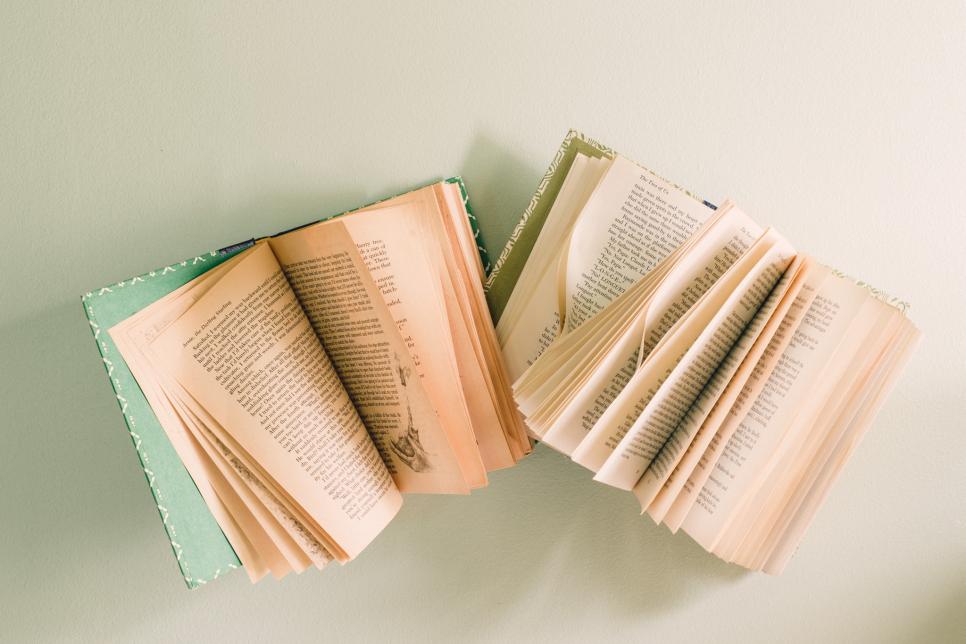
Open Books To create the look of flying-open novels, add hot glue to different regions of back-to-back pages that are open. This will create the look of motion. When the adhesive has dried, set several books together and attach them to the wall using drywall screws through the rear of every book cover.
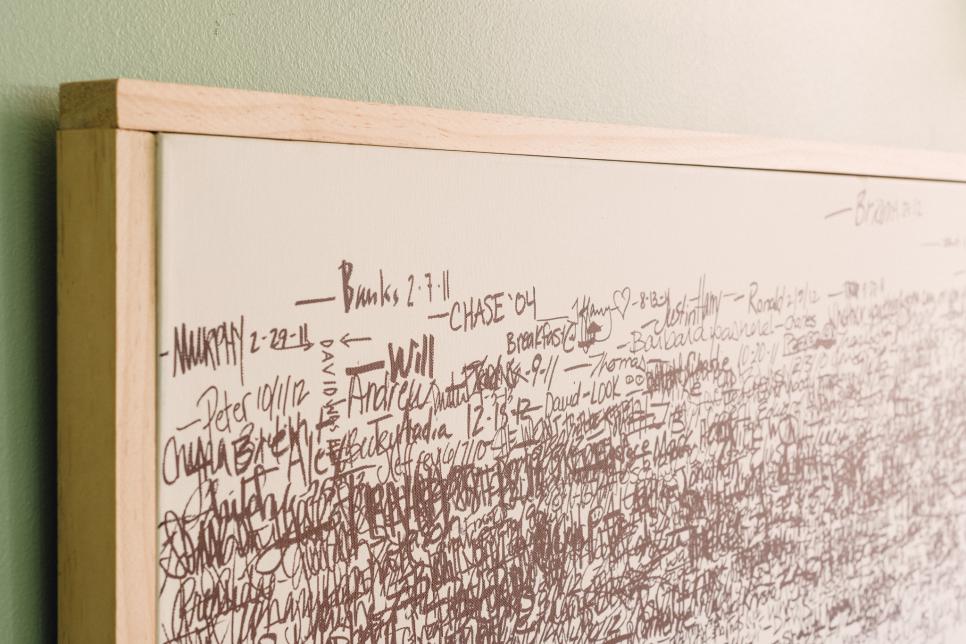
Collected Autographs Homeowners who love to entertain will certainly enjoy artwork created from guests' signatures. Pick up a fundamental artwork canvas, then use screws or nails to include trim around the canvas's edges as a framework. Next, hang the sterile canvas in a high-traffic area where guests are sure to collect. Keep a marker nearby and ask guests to add their signatures into the canvas. The random placement of the signatures will end in something personal and graphic which reads differently from far away than it does close up.
Layered Paint: From a Distance While many art shops offer paint materials which texturize canvases, texture and depth may also be created by layering paint. To layer paint with a textural effect, apply the paint in random areas using a painting knife, so ensuring the layers are thick. After several hours of drying, continue to coating paint in various colours and in random spots on the canvas.
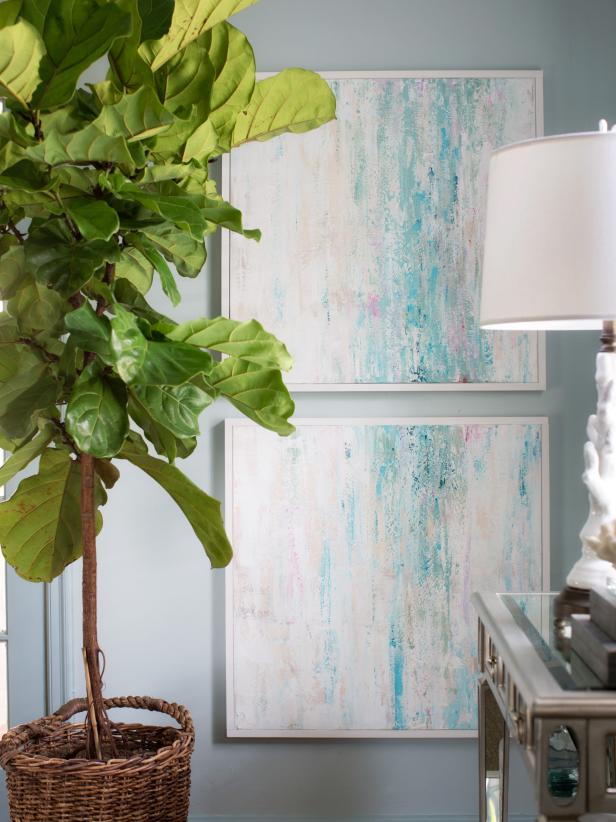
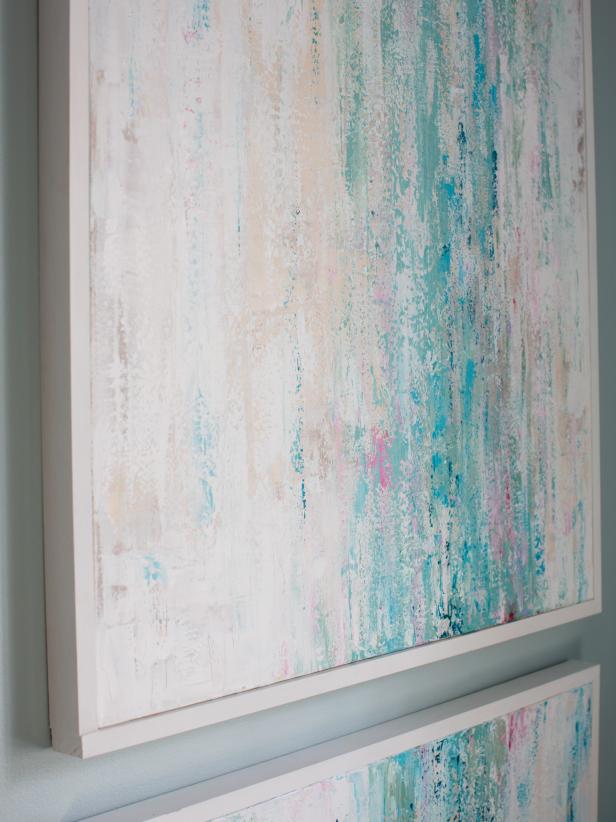
Layered Paint: Close-Up Remember, as the layers build up around a layered-paint piece, the edges on the canvas is able to start to appear cluttered and unprofessional. Simply by adding four bits of MDF or wood trim along the edges with nails or screws, any eyesores become instantly concealed.
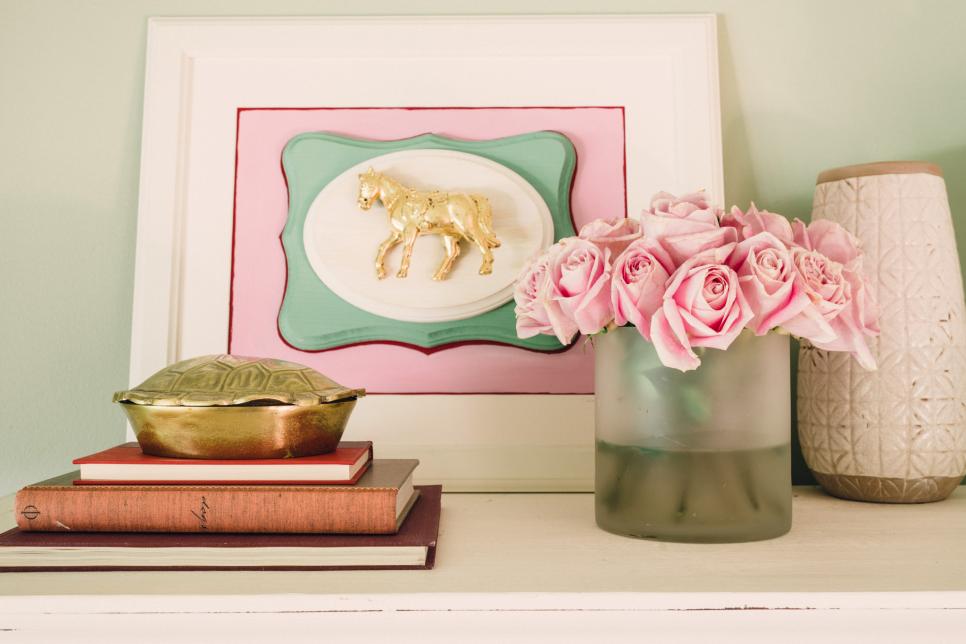
Gold Leafing Switch any basic object into a work of art using a silver or gold foliage application. For a luxury metallic finish, all you require are leafing sheets, leafing adhesive and a detail paintbrush. Use the sheets directly to the items using a paintbrush dipped to the glue, then use the paintbrush to fill in any cracks. For proper display, either put objects within a cloche, on risers or in an open framework.
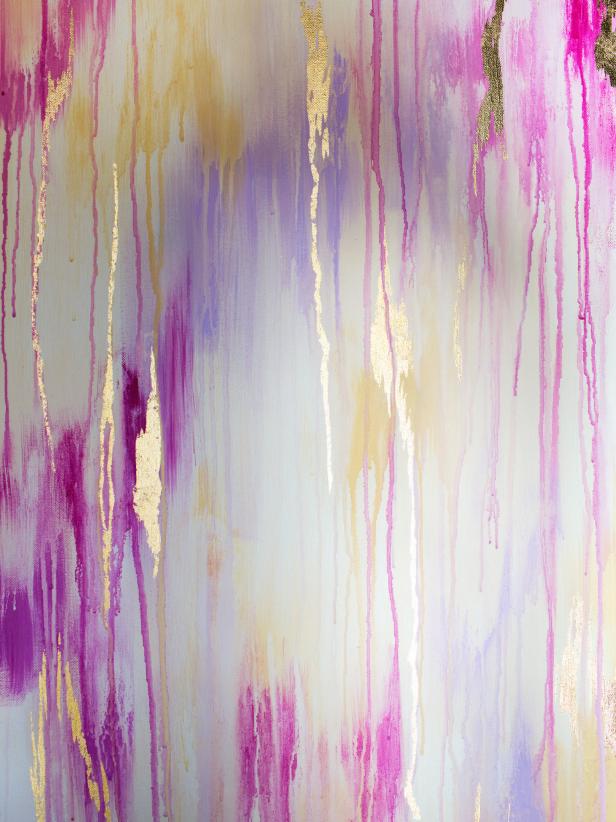
Spray Bottle Art: From a Distance Drip art is often known for its use in grade school art classes. It's created by holding a canvas vertically, then dripping acrylic or latex paint across the top. Another interpretation of this design is spray bottle artwork which involves applying paint straight to a canvas, then spraying it with a bottle of water to dilute the paint and then cause it to drip downward.
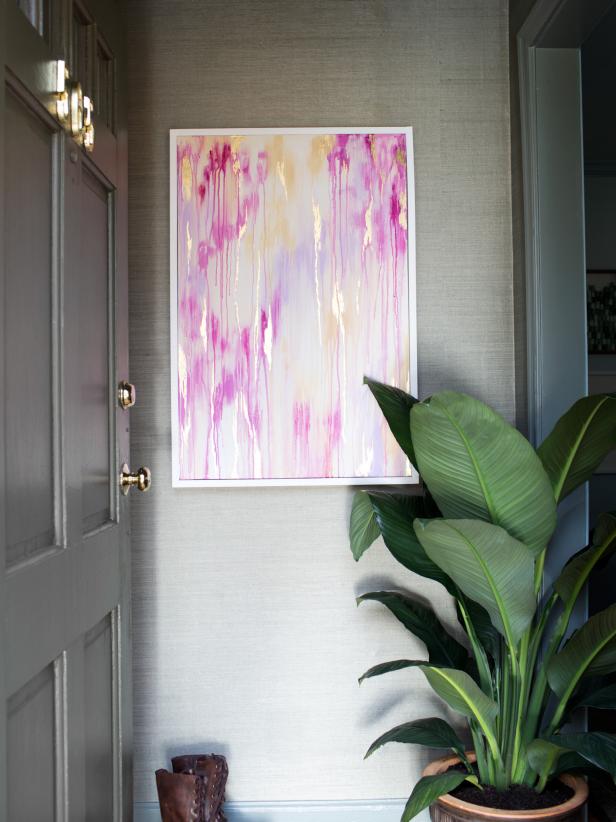
Spray Bottle Art: Close-Up Add depth to spray jar artwork by mixing touches of silver or gold leaf in with different colours. After all colours are inserted into the canvas, apply the silver or gold leaf to the surface using leaf adhesive and a small detail paintbrush.
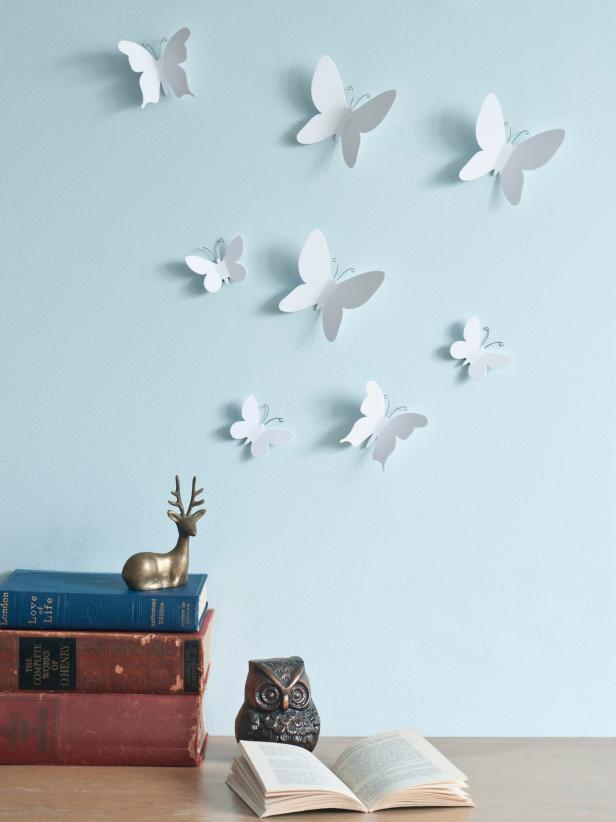
Delicate Butterflies Sweet butterfly wall art imitates the grace and delicacy of the real thing. To make a similar look, use cardstock paper and cut out butterfly shapes in several sizes. Gently fold the wings, and attach to the wall with a small number of sticky putty.
Colorful Crate Bookshelves Simple crates turned into a work of art and unexpected storage with a few coats of bright, colorful paint. Once painted, attach the crates into the wall by drilling a hole in each corner and then screwing to the wall. Courtesy of HGTV Magazine

Framed Textiles A classic scarf might be exactly what you want to decorate your home and add a little bit of retro design to your sterile walls. Try framing your scarf to get an instantaneous statement piece.
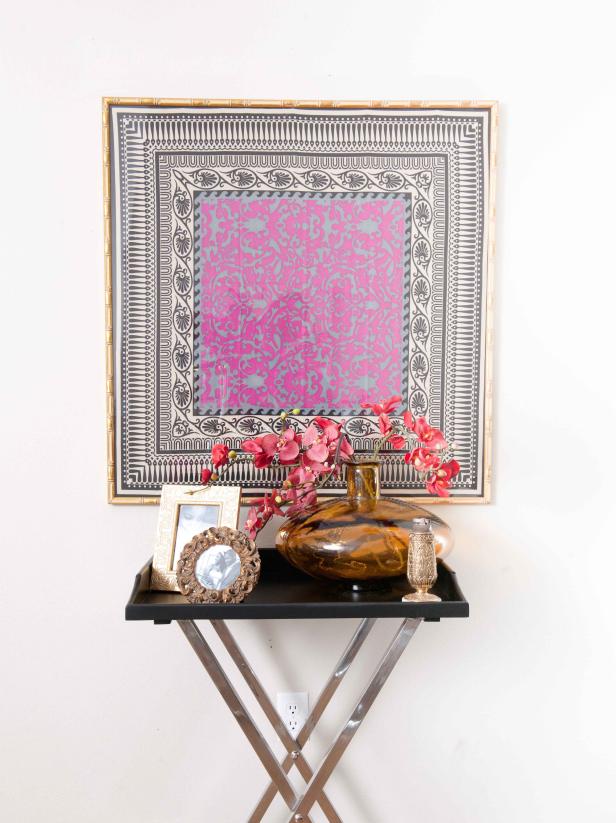
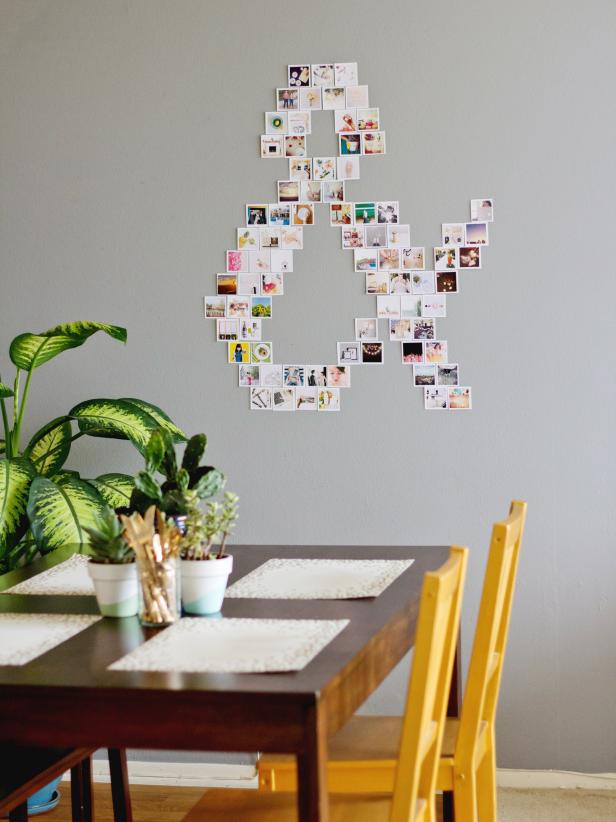
Photo Collage An easy way to make a bold effect is by simply printing out all your favorite Instagram photos and displaying them in a fun shape, such as the ampersand seen here.
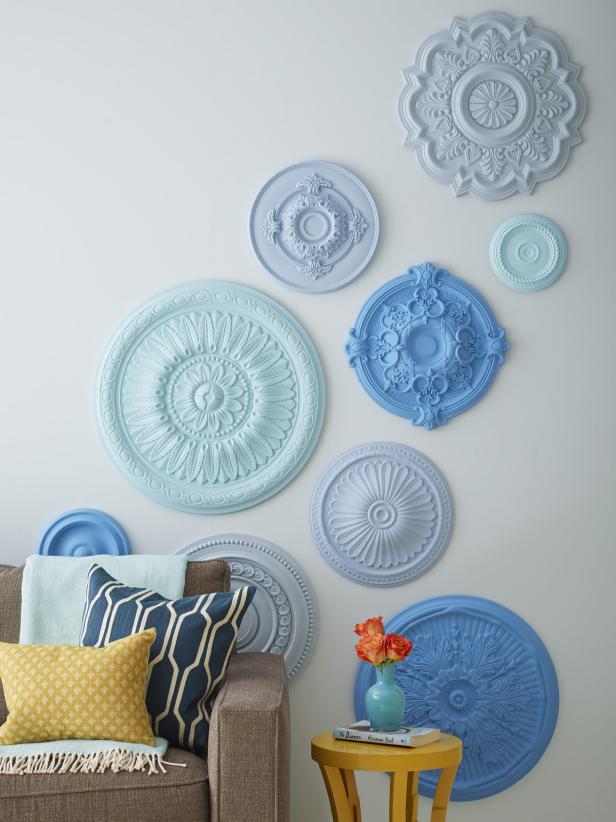
Painted Ceiling Medallions While this stunning display looks pricey, it was really accomplished using a gorgeous mix of inexpensive ceiling medallions. After painted in coordinating colors, the lightweight medallions could be attached with velcro or a solid glue. Courtesy of HGTV Magazine
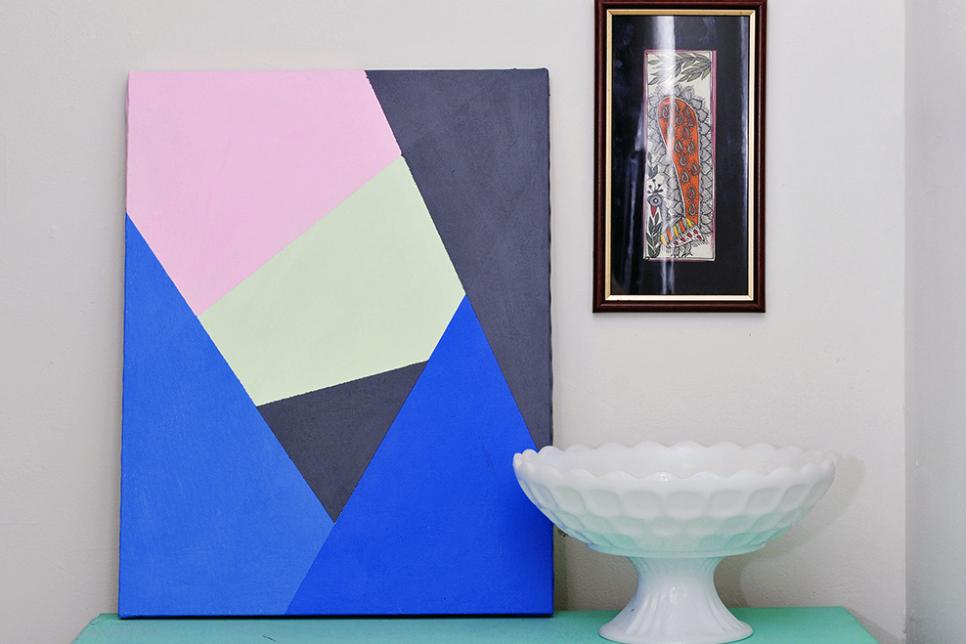
Homemade Modern Art You do not have to be an artist to create a one-of-a-kind bit that both adds style to your area and matches your home's colour palette. Learn how to make this contemporary, geometric artwork here.
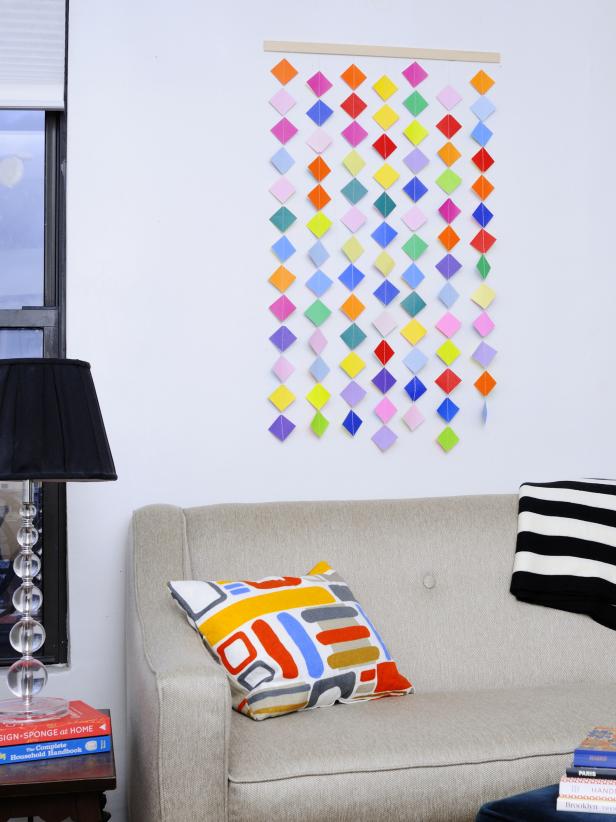
Origami Paper Garland Colorful sheets of origami paper make a striking wall garland when sewn together and hung in a prominent place, such as above the couch. Locate the full instructions here.
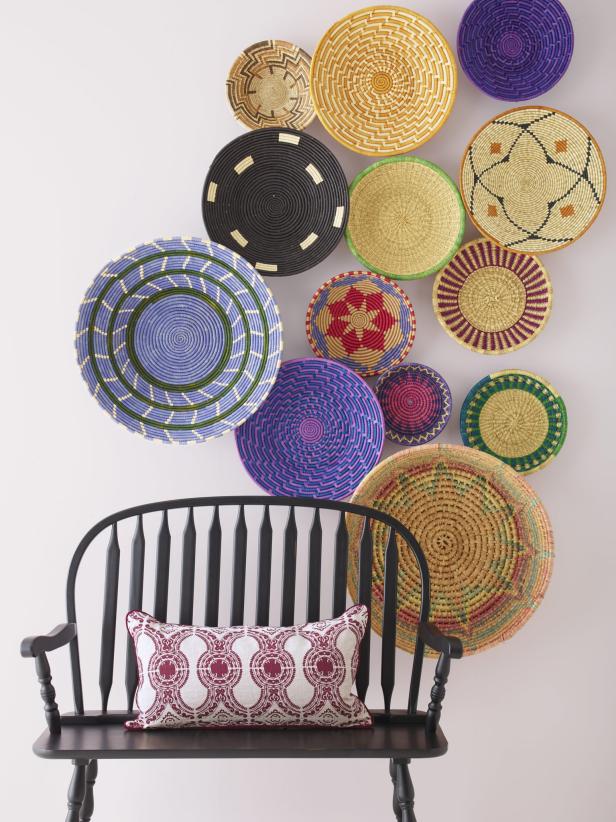
Wall Decor With Woven Baskets Add stunning texture along with a vibrant blend of color with a couple of shallow baskets displayed effortlessly on the wall. To copy this look, consider hanging the greatest basket, layering others. Nail each basket into the wall by the basket's center to achieve the overlapping appearance. Courtesy of HGTV Magazine
No comments:
Post a Comment